
Common Mistakes Hikers Make When Following Island Trails at Low Tide
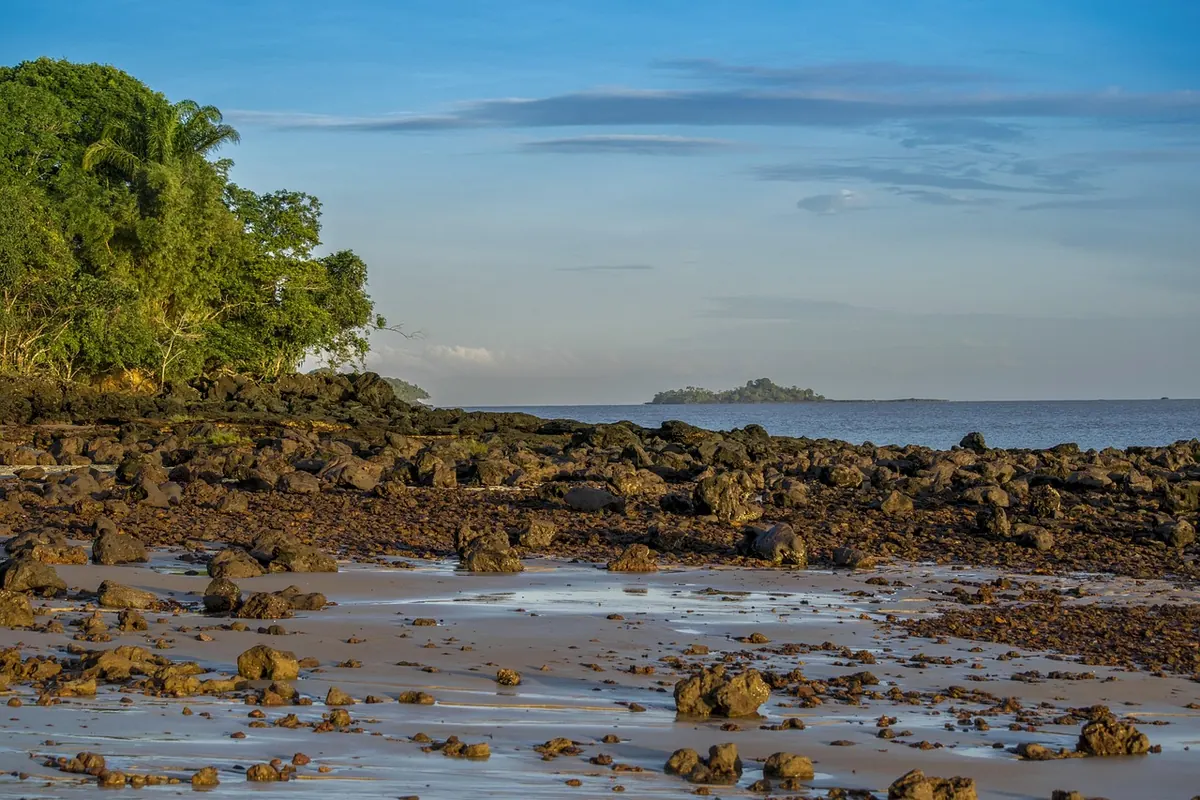
Island trails at low tide have a particular kind of appeal. A sandbar appears where there was water an hour ago, a rock shelf leads around a headland, and a cove that looked closed from above suddenly has a way through. The sea pulls back and the map seems to open.
That is also why low-tide hiking catches people out. The mistakes are rarely dramatic. They are small: a late start, one extra photo stop, a shortcut across a flat that looked firmer than it was. By the time the water returns, the route is longer and the margin thinner. These are the errors worth fixing before you set off.
Treating the tide table as a loose suggestion
The most common mistake is checking only the time of low tide. A tide table is a prediction for a reference point, not a guarantee that every ledge, channel and beach on the island will be dry at 10:42. Islands distort tides. A bay can empty later than the harbour, and a narrow channel can stay deep long after the sandbar appears.
Look at the height as well as the time. A low tide of 0.2 metres and a low tide of 0.7 metres may both be called “low”, but they leave very different amounts of rock exposed. Wind matters too. A strong onshore wind can hold water against the shore and push waves over a passage that the table says is clear. Recent swell can do the same, even on a calm, sunny day.
Use the local tide table for the nearest standard port, then add a conservative margin. If a route is known to be sensitive, ask at a park information point or harbour office before you commit. A two-minute question is cheaper than a detour of several hours.
Leaving the return until after low tide
Outbound legs feel quick. You are fresh, the light is good, and the next cove is always close. The return is where the day catches up: tired legs, a higher sun, and water that has already begun to move back in. Hikers often plan around the destination — “we’ll turn back after lunch” — instead of around the last safe crossing.
Set a turnaround time before you leave the trailhead, and write it down. If the tidal section takes twenty minutes to cross, do not arrive at the edge of it at the stated low-tide time and assume you have hours. On many routes the safest window is before the tide turns, not after. A phone alarm is useful, but only if you treat it as a hard deadline rather than a reminder to finish your sandwich.
Give yourself a second margin for the return: a wrong turn, a slower scramble, a friend who wants to look at every pool. The sea does not care that you are almost back. If the water is already covering the route when you reach it, wait on high ground and take the long way around. Wading a knee-deep channel with a pack is not a shortcut; it is a way to turn a good day into a cold, miserable one.
Trusting wet rock like dry trail
Low-tide routes often cross exactly the surfaces that are hardest to read: dark algae, wet limestone, seaweed-covered slabs, and rock pools ringed with slippery film. Dry rock can feel secure underfoot, then turn greasy at the waterline. The mistake is walking at normal pace and expecting normal grip.
Slow down before the rock gets wet. Shorten your steps. Keep your hands free for balance, and avoid the instinct to jump from one dry patch to another. Test questionable rock with a careful foot before committing your weight. On descents, look for dry, rough stone rather than the smooth, dark band near the water. Trekking poles can help on uneven ground, but they are not a guarantee on slick rock; place them where they will not slide out.
Wet sand is often more reliable than wet stone, but not always. A thin layer of water over flat rock is the classic trap: it looks shallow and harmless, then offers almost no friction. If you fall, check yourself properly before carrying on. A knock to the head or a twisted ankle is a reason to change plans, not to push on to the next beach.
Crossing a cutoff without an escape route
A tidal cutoff is any place where the rising sea can close the way you came. It might be a headland ledge, a beach backed by cliffs, or a channel between two rock platforms. The mistake is committing to the crossing without asking what happens if the water arrives early or you twist an ankle on the far side.
Before you cross, stop and look back. Identify the high-water escape: a path up the dunes, a set of steps, a marked route over the headland, or a beach with a landward exit. If the only plan is to run back the way you came, the route is probably too tight for a casual hike.
Use a simple check before committing:
- Note the time you crossed and the latest safe return time, not just the time of low tide.
- Find the escape route first, and make sure you can reach it with wet feet and tired legs.
- Check wind, swell and recent weather, not only the sky above you.
- Tell someone your route and expected return, especially where phone signal is patchy.
- Carry a charged phone with an offline map, a small light, water and a windproof layer.
If the margin feels thin, skip the crossing. The cove will still be there on another day with a better tide.
Cutting through protected shoreline areas
Low tide exposes places that are usually underwater: rock pools, seagrass flats, shell banks and wet sand where birds feed. They can look empty and unimportant. They are often the most sensitive part of the shore.
Protected areas are not only about fences and signs. Nesting birds, fragile plant communities and marine life in shallow pools can be disturbed by a single pair of boots. Hikers cut across a roped-off dune to reach a beach, or walk through a pool to avoid a rocky detour, because the route seems obvious. The result is damage that lasts longer than the tide.
Stay on marked paths where they exist, even if the beach looks easier. Keep out of roped or signed restoration areas. Give wildlife distance, and do not move rocks or collect shells from protected shorelines. Check local park rules at the trailhead: some areas have seasonal restrictions that are easy to miss if you only look at a map. A low-tide route is a privilege, not a right of way.
A low-tide routine worth repeating
None of this requires a course or a complicated kit. It requires treating the tide as the schedule and the shoreline as a place with rules. Before you leave the trailhead, write down the low-tide time, the height, your turnaround time and the latest safe return. Look at the wind. Ask about local quirks if you are unsure. On the route, keep your hands free on wet rock, set an alarm, and turn back while the decision is still easy.
If you are hiking with children or a group, agree on the turnaround before anyone gets distracted. If you are alone, tell someone where you are going and when you expect to be back. And if the water is already where you wanted to walk, accept the detour. The best low-tide hike is the one where the sea is still a companion, not a deadline.
Photo: TNeto / Pixabay