
Should You Hike Alone on an Island? Safety Checks Before a Solo Trail
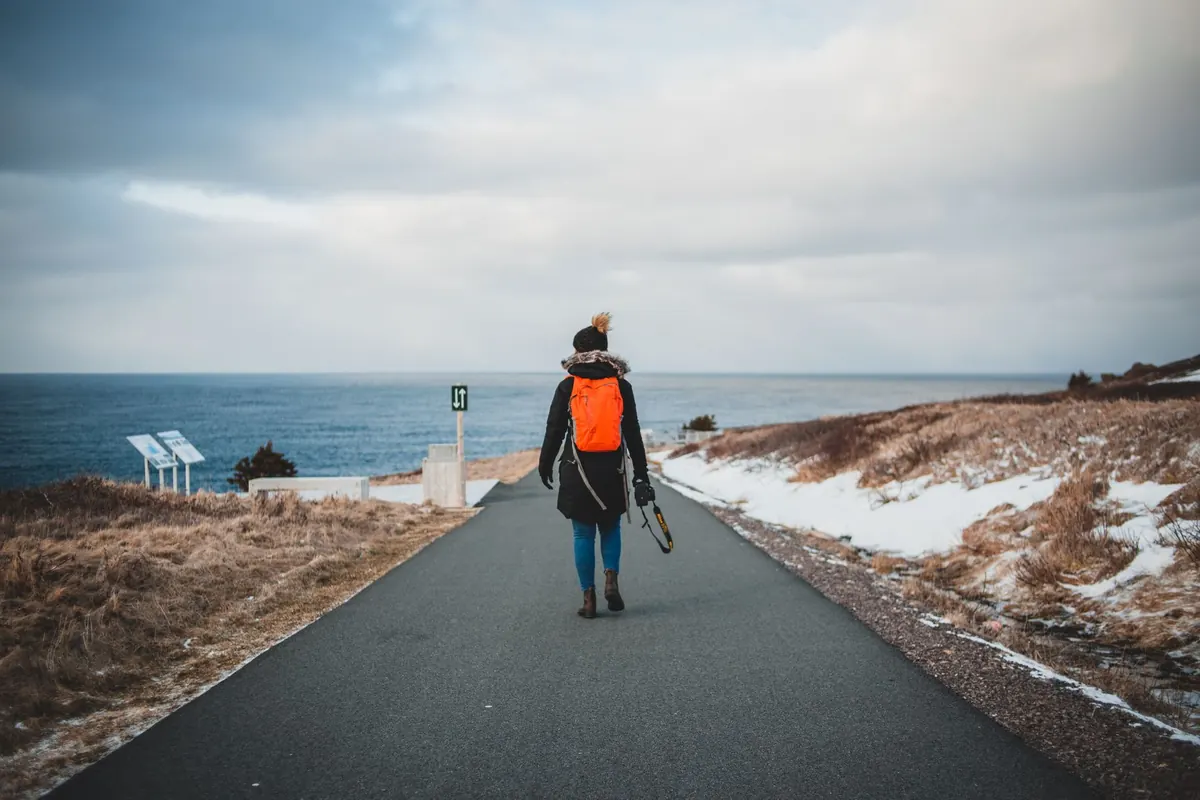
A solo trail on an island feels different. The path is quieter, the sea is never far from your thoughts, and every headland seems to promise a view worth the climb. That solitude is the point. It is also the reason island hiking rewards a little more preparation than a walk in a city park. You do not need to be an expert or carry a rescue beacon. You do need a route that suits the day, a check-in plan, and the discipline to turn back when the island tells you to.
Start With a Route That Leaves You an Exit
Island trails often look shorter on a map than they feel underfoot. A coastal path may climb and drop repeatedly, with loose stone underfoot and wind pushing at your shoulder. A route that crosses a headland can take far longer than the distance suggests. Before you commit, read the trail notes for distance, ascent, terrain and anything that sounds like a warning: exposed ledges, fixed ropes, river crossings, pathless sections, seasonal closures.
For a first solo hike, choose a route with three qualities: it is within your fitness, it stays within your navigation comfort, and it gives you a sensible way out. That might mean a well-waymarked loop from a village, a there-and-back trail along a ridge, or a shorter coastal section with a bus stop or road at the far end. If the only exit is the summit or the far trailhead, the route needs to be shorter and simpler than you think.
Read the Island's Small Print
Islands have details that mainland walks do not. Tides can change a beach route. The last ferry or bus may leave earlier than you expect. A water source marked on a map may be dry in summer. A trail may pass through private land or a seasonal closure. Ask locally about tide times, trailhead access and transport back. Check whether the path is marked in the way you are used to; paint flashes, cairns and wooden posts can all mean different things on different islands. A map on your phone is useful, but it is not a substitute for knowing how the route works on the ground.
Make a Check-In Plan Someone Can Actually Follow
“I’ll text when I’m done” is not a plan. A useful check-in plan tells one reliable person where you are going, when you expect to be back, and what to do if you are not. Choose someone who will notice a missed message and who knows how to raise the alarm in the local area. Give them the route name, start and finish points, your expected finish time, and your hard turn-around time.
- Route and plan: the trail name, start point, finish point and any alternative you might take.
- Timeline: when you start, when you expect to finish, and when they should start worrying.
- Check-in points: a message from the trailhead, a midpoint if you have signal, and a final message when you are back.
- Action if overdue: who they should contact and which trailhead or access point to mention.
- Local emergency number: save it before you leave, and make sure your contact has it too.
If you will not have signal for most of the day, say so. A contact who expects a midday text may panic unnecessarily; a contact who expects silence until evening knows when a missed check-in is meaningful. Keep the plan simple enough that it actually happens. One clear message at the start and one at the end is better than a complicated schedule you abandon after the first climb.
Know Where Your Phone Stops Working
Phone coverage on islands is patchy in a way that can surprise you. A signal at the trailhead does not mean a signal on the far side of the headland. Cliffs, deep valleys, dense scrub and simple distance can all cut you off. Before you leave, download an offline map of the area, charge your phone, and carry a small power bank if you rely on it for navigation. Switch to airplane mode when you do not need it; a phone searching for signal drains battery fast.
Treat your phone as a convenience, not a safety net. If you are following a route that needs navigation, carry a paper map and compass and know how to use them, or choose a trail that is clearly waymarked and short enough that you can retrace your steps. Tell your check-in person where coverage is likely to end, if you know. And if you reach a point where the phone has no signal and the route ahead is unclear, that is information: it is a reason to slow down, not to push on.
Decide the Turn-Around Point Before You Start
The most useful safety decision on a solo hike is made before you leave: the moment you will turn back, no matter how close the summit feels. Set a hard time based on daylight, weather and transport. If the last bus leaves at six and the walk back takes an hour, your turn-around time is not six. It is earlier, with a margin for a slow descent, a wrong turn or a longer break than you planned.
Choose a physical point too: a junction, a stream crossing, a viewpoint, the end of the marked path. When you reach it, check the time and the conditions. Then decide. A few questions help:
- Is the weather changing faster than I expected?
- Is the path becoming more exposed, more technical or harder to follow?
- Am I still moving well, or am I tripping and making small mistakes?
- Do I have enough water, daylight and energy to return comfortably?
- Will the tide or the last transport still work if I am slower than planned?
Turning around is not a failure. On an island, the walk back is part of the hike. If you are tired, the view from the turn-around point is still a view. If the wind is strengthening or the cloud is dropping, the ridge will still be there another day. The summit is not the goal; returning with a good story is.
Pack Light, but Pack for a Delay
You do not need a heavy pack for a day hike. You do need to be able to wait safely if something slows you down. Carry more water than you think you need for the distance, especially on exposed coastal paths. Add a warm layer, a waterproof shell, a hat, sunscreen, snacks, a headlamp, a basic first-aid kit and a whistle. A small sit mat or a spare plastic bag weighs almost nothing and makes a cold wait less miserable.
If you have a medical condition, take advice from a healthcare professional before a remote solo hike, and carry whatever you normally need. The same goes for any medication or allergy plan. This is not about turning a simple walk into an expedition; it is about making sure a short delay does not become a serious problem.
When the Island Feels Too Quiet
Solitude can sharpen your senses and also distort your judgment. You may feel pressure to continue because you came this far, because the ferry was expensive, or because the photos looked better online. Notice that pressure. A solo hiker’s best tool is the willingness to change the plan. If a path feels wrong, stop and look at the map, the markers and the terrain. If you cannot explain where you are, go back to the last certain point. If the weather turns, put on your shell before you get cold, eat something, and reassess.
It also helps to have a simple rule: no important decision when tired, hungry or rushed. Sit down. Drink water. Eat a snack. Then decide. On an island, the sea is a constant reminder that conditions can change. Respect that, and you will make better choices.
The Trailhead Check That Takes Two Minutes
Before you set off, run through a short check at the trailhead. Confirm the weather, tide and transport times. Send your route and expected finish time to your check-in person. Set your turn-around time and point. Check your water, phone battery, layers and map. Look at the first ten minutes of the trail and ask whether it matches the description you read. If it does not, adjust now rather than halfway up.
Solo island hiking is not about proving you can handle anything. It is about choosing a day that stays within your control, so the quiet feels like a gift rather than a gamble. Start small, leave room to turn back, and let the island give you the walk you came for.
Photo: Erik Mclean / Pexels